LR20 Email Set Up Instructions (for Apple Mail)
Set up your unique LR20 email (ex: john.doe@lr20.ca) on Apple Mail today by following the simple instructions we’ve created.
Part 1: Enable IMAP Access in Zoho Mail
Log in to zoho.com/mail with your LR20 email address.
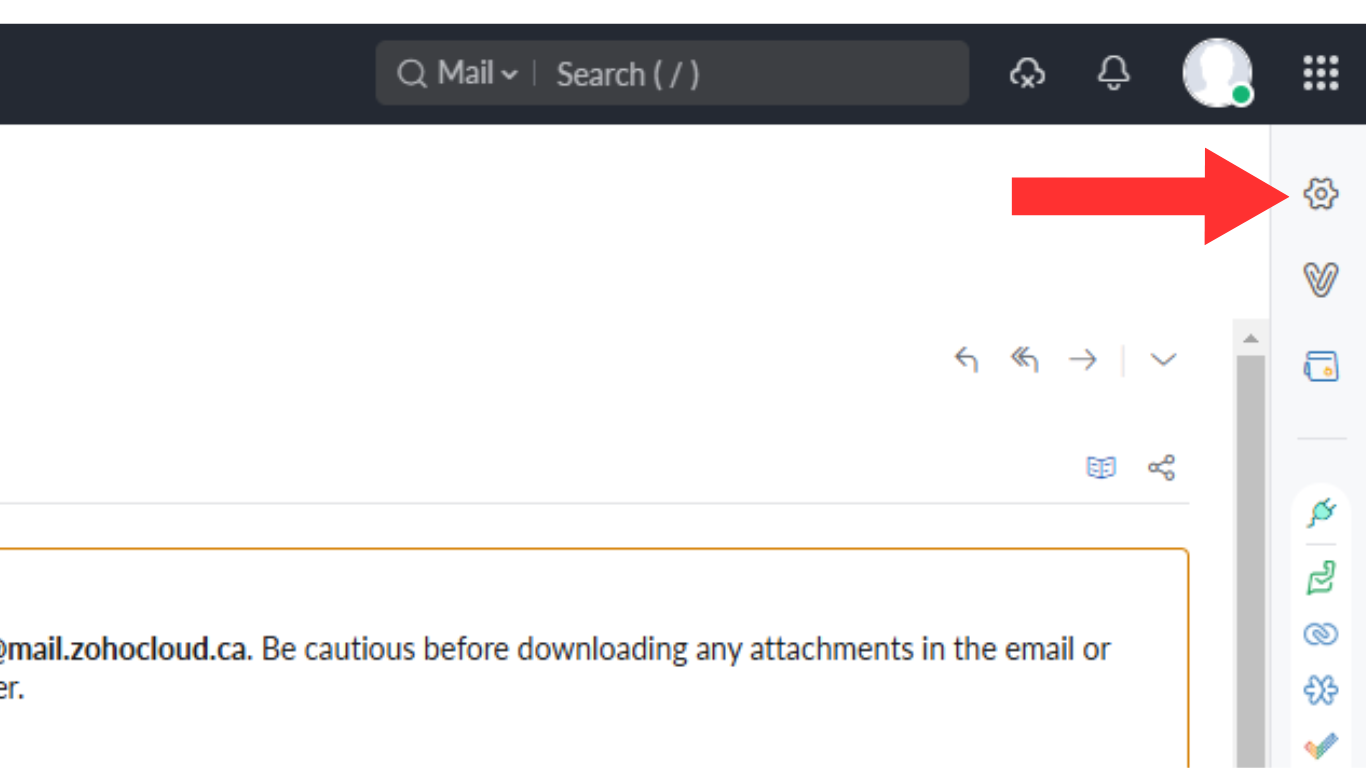
2. Click ‘Settings’ on the right hand side of your screen. On the left hand side of the pop-up, scroll down to ‘Mail Accounts.’
3. Select the checkbox labeled: ‘Enable IMAP Access’.

Part 2: Set Up Your ‘Application-Specific Password’
Log in to accounts.zoho.com with your LR20 email (ex: john.doe@lr20.ca) and verify your account using the authentication method you have set up.
On the left-hand side of the screen, click on the ‘Security’ tab (below ‘Profile’).
In the ‘Security’ menu option drop-down, select “App Passwords”

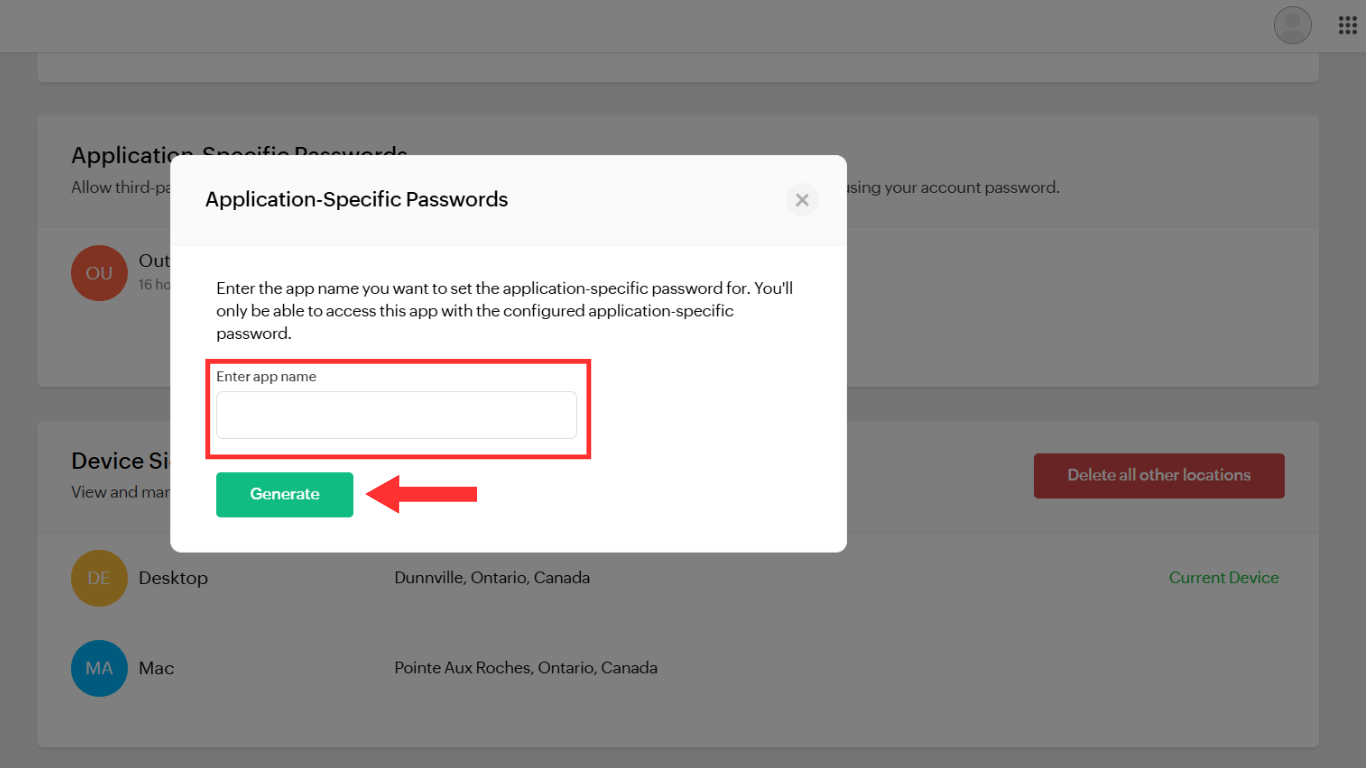
4. On the right-hand side of the screen, select ‘Generate New Password’ and a pop-up will appear on your screen.
5. Type “Apple Mail” into the text box labelled ‘Enter app name’ and click ‘Generate’.

6. Copy the ‘Application Specific Password’ for Apple Mail to your clipboard, stick it in a word document/notepad, or write it down somewhere. If you accidently close the window before you have copied down your password, you can delete it and restart.

Part 3: Set Up Your LR20 Email in Apple Mail
Open the Apple Mail application and click the + icon in the bottom right of the screen to add a new account.
Select ‘Other Mail Account’ and click ‘Continue’.

3. Type in your name, LR20 email address, and app-specific password that you generated in Part 2 - Step 6 of these instructions. Click ‘Sign In’.

4. Select the account type ‘IMAP’ and the ‘Incoming’ and ‘Outgoing’ server details as given below:

5. Click ‘Sign In’.